Build Low Budget Blog Using Vuejs + Supabase
As a developer with over a decade of experience in backend engineering, specifically within the Backend ecosystem, I am always looking for the most efficient ways to build side projects without the headache of complex server management.
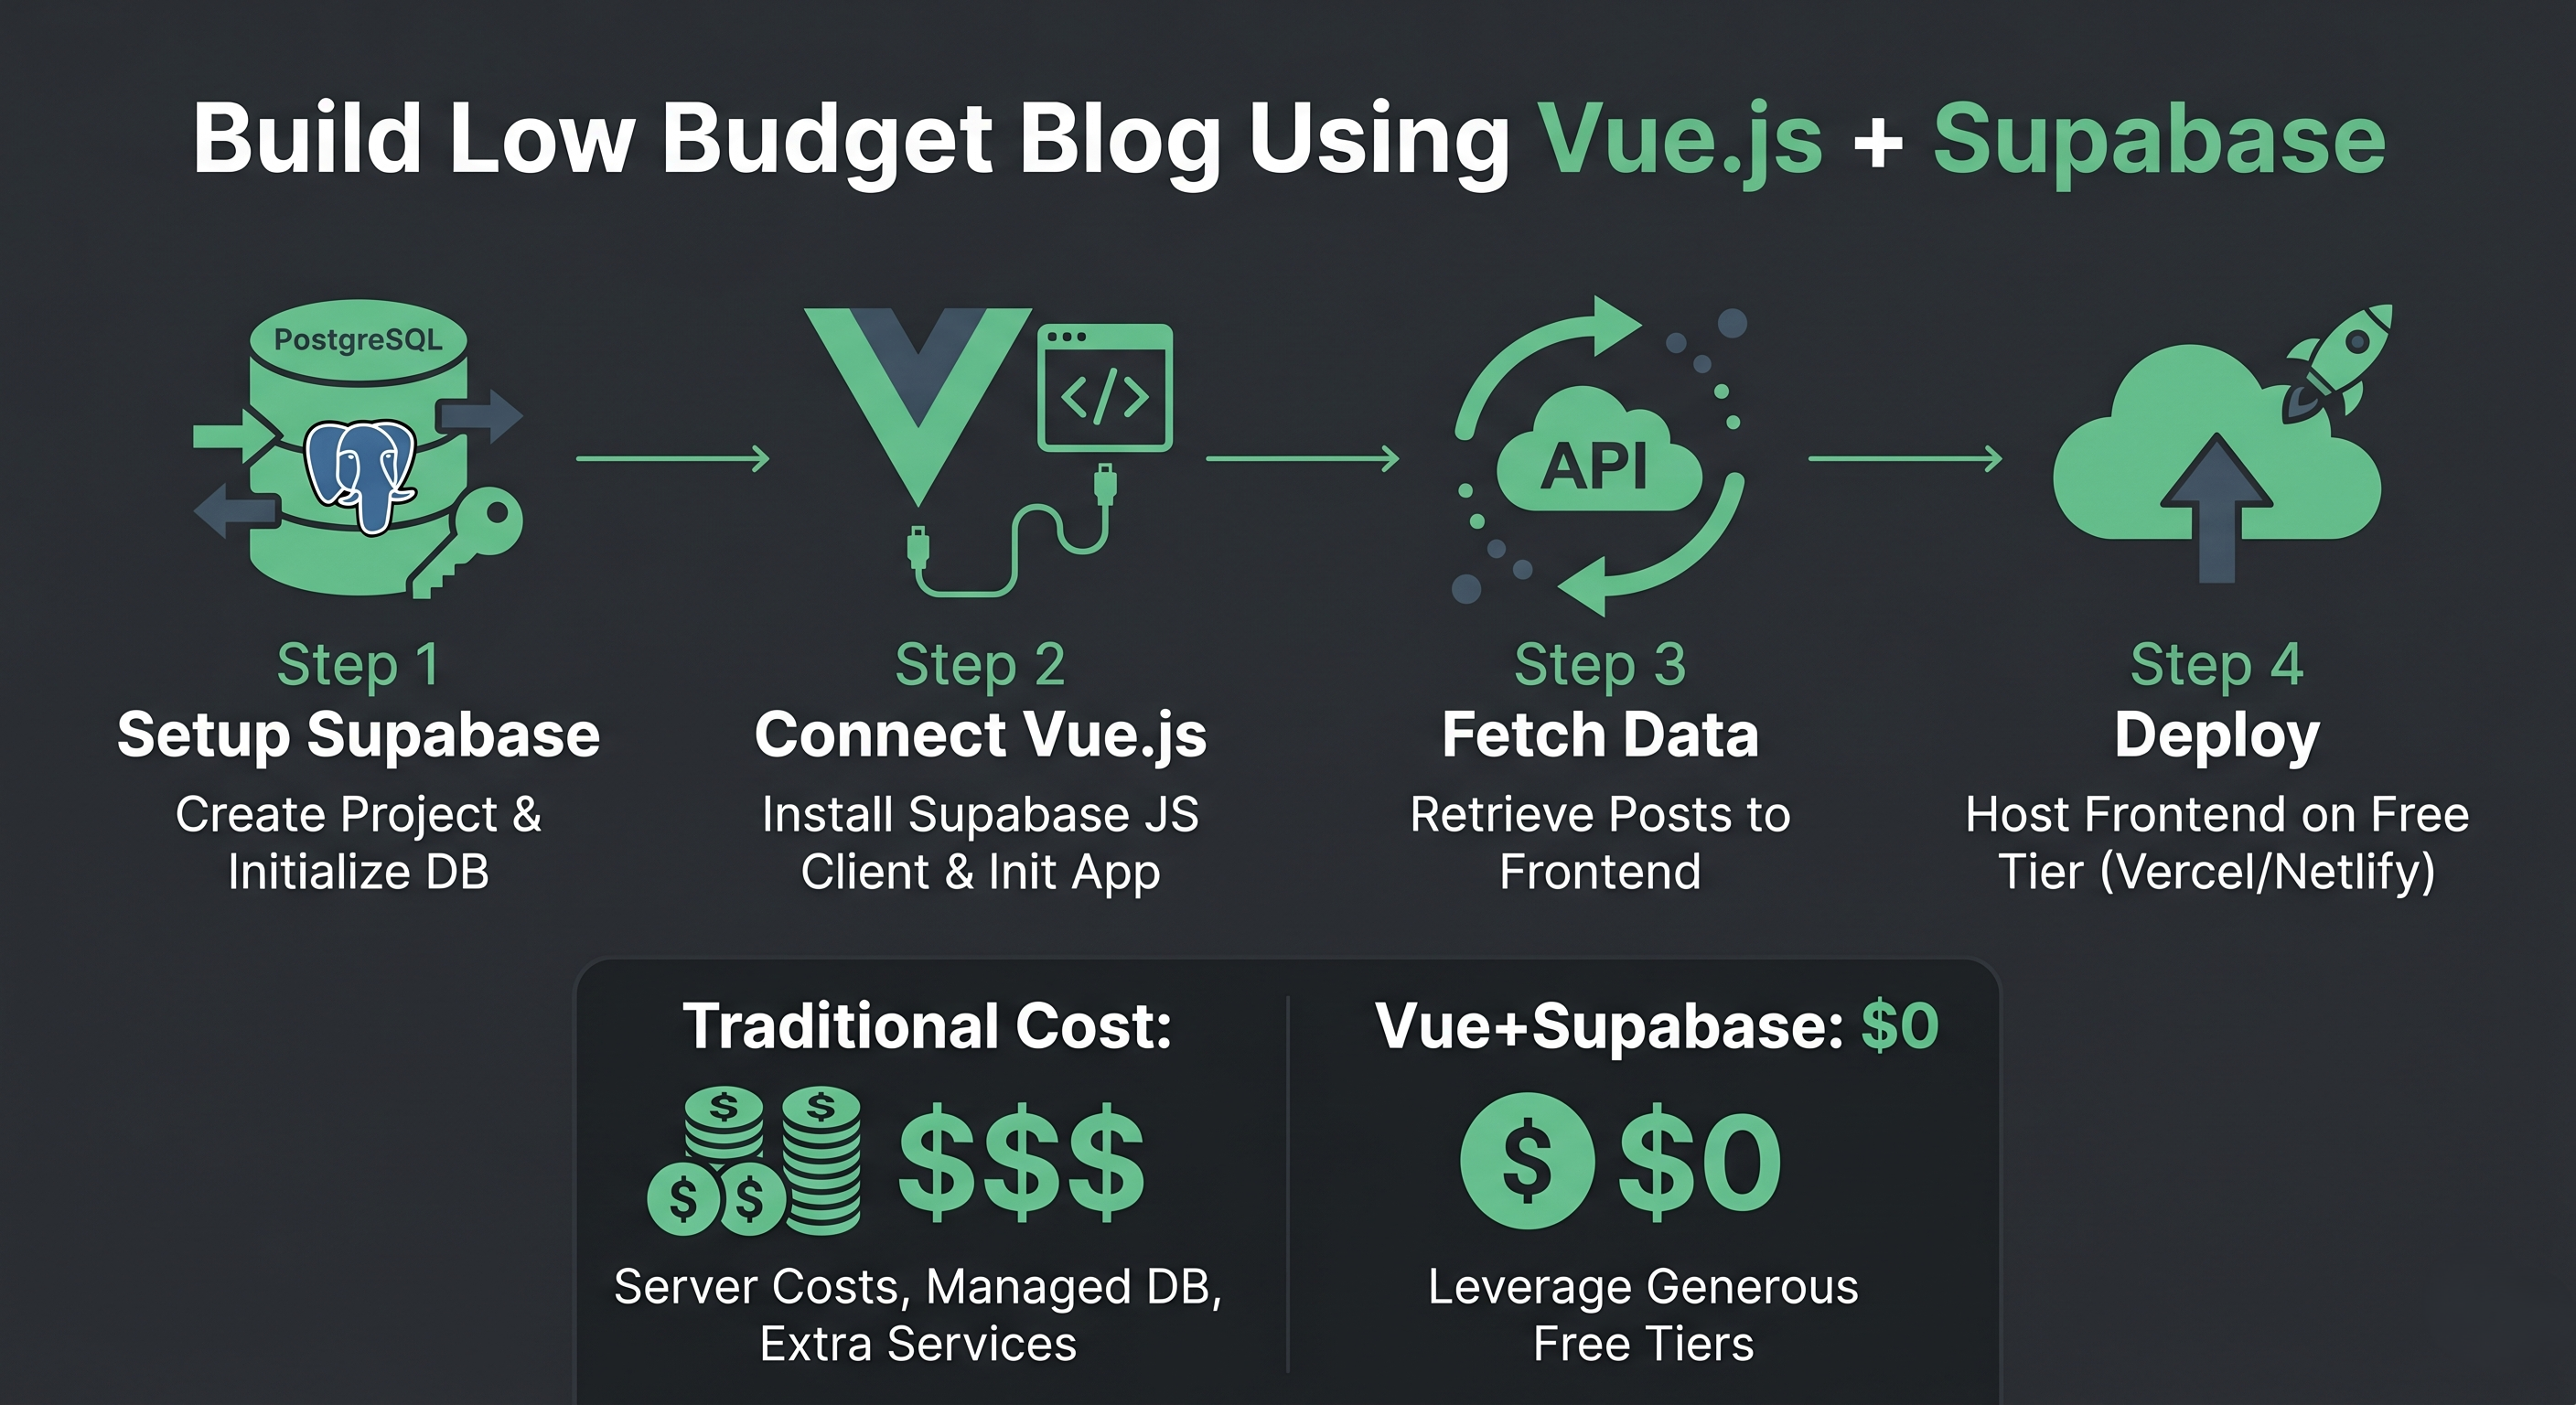
Today, I’m sharing how to build a sleek, lightweight blog using Vue.js for the frontend and Supabase as your Backend-as-a-Service (BaaS). This combination is incredibly powerful for developers who want to focus on features without sacrificing performance.
Why Supabase?
For those of us accustomed to PostgreSQL, Supabase is an intuitive choice. It provides a robust Postgres database, built-in authentication, and instant APIs. This drastically reduces the redundancy code often found in traditional backend development, allowing you to build faster.
Step 1: Database Setup in Supabase
- Create a new project in your Supabase Dashboard.
- Open the SQL Editor and create the
poststable:
create table posts (
  id uuid default uuid_generate_v4() primary key,
  title text not null,
  content text,
  created_at timestamp with time zone default timezone('utc'::text, now()) not null
);
- Add some sample data so we can see the results later.
Step 2: Initialize Your Vue.js Project
Use Vite for the fastest Vue setup:
npm create vite@latest my-blog -- --template vue
cd my-blog
npm install
npm install @supabase/supabase-js
Step 3: Configure the Supabase Client
Create a .env file to store your API keys, then create src/supabase.js:
import { createClient } from '@supabase/supabase-js'

const supabaseUrl = import.meta.env.VITE_SUPABASE_URL
const supabaseAnonKey = import.meta.env.VITE_SUPABASE_ANON_KEY

export const supabase = createClient(supabaseUrl, supabaseAnonKey)
Step 4: Displaying the Blog List
In your App.vue or Home.vue component, fetch the data using the Composition API:
<script setup>
import { ref, onMounted } from 'vue'
import { supabase } from './supabase'

const posts = ref([])

const fetchPosts = async () => {
  const { data, error } = await supabase
    .from('posts')
    .select('*')
    .order('created_at', { ascending: false })

  if (error) console.error('Error fetching posts:', error)
  else posts.value = data
}

onMounted(() => {
  fetchPosts()
})
</script>

<template>
  <div class="blog-container">
    <h1>My Simple Blog</h1>
    <div v-for="post in posts" :key="post.id" class="post-card">
      <h2>{{ post.title }}</h2>
      <p>{{ post.content }}</p>
      <small>{{ new Date(post.created_at).toLocaleDateString() }}</small>
    </div>
  </div>
</template>
Bonus Step: Use Supabase CLI for a Professional Workflow
As a developer experienced in handling large-scale projects, I highly recommend using the Supabase CLI. With the CLI, you can run all Supabase services locally on your machine using Docker. This allows for experimentation without affecting production data.
Installation & Setup:
- Install via NPM:
npm install supabase --save-dev
- Initialize Project:
npx supabase init
- Start Local Services:
npx supabase start
This command gives you access to a local dashboard, Postgres database, and API at localhost. This significantly accelerates the testing process before deploying to the cloud.
Conclusion
With Vue.js and Supabase, we can skip the tedious backend configuration and dive straight into the core of the application. This pattern aligns with the spirit of metaprogramming, where the goal is to write efficient code and minimize repetitive tasks.
For someone with my background in managing large-scale systems and complex architectures, the ease of use offered by modern technologies like these is remarkable for boosting team productivity.
Pro-Tips from My Experience:
- Security: Always enable Row Level Security (RLS) in Supabase to protect your data from unauthorized access. This is similar to the AES-256 encryption principles I often apply in financial projects.
- Performance: If your blog grows to thousands of entries, ensure you apply an index to frequently searched columns to avoid query latency.
- SEO: Consider using Vite-SSG or Nuxt.js if you want your blog to be more discoverable on Google.
- Seamless Deployment: For the best results, connect your GitHub repository to Vercel or GitHub.io. With Vercel, every
git pushautomatically triggers a build and deploy of your Vue.js app in seconds via CI/CD. - Custom Domain: Use a Custom Domain (e.g.,
yourblog.com) to increase credibility and make your site more memorable. In Vercel, simply go to Settings > Domains to add your domain and receive a free SSL certificate automatically.